Why Does My Embroidery Needle Keep Breaking?
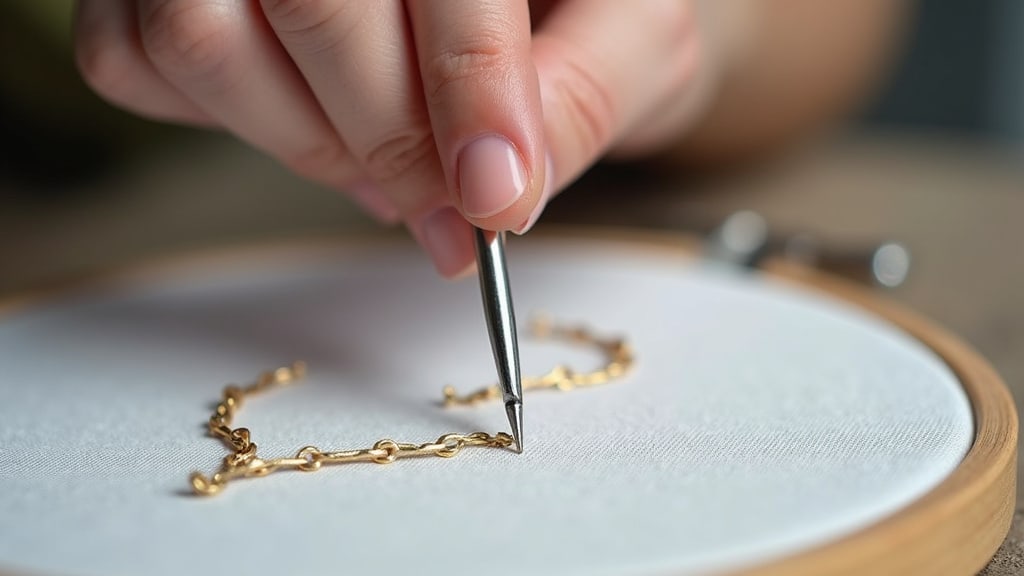
Your embroidery needle keeps breaking because it’s likely the wrong type of needle for your project, or it’s experiencing excessive force. Needles can snap due to being too fine for thick fabric, using a dull needle, or pushing too hard when stitching. We found that using the correct needle size and type is the first step to preventing breaks.
It’s a frustrating problem that can halt your creative flow. Many stitchers encounter this issue, especially when working with different fabrics or threads. Understanding the common culprits behind a snapping needle can save you time, money, and prevent a lot of sewing mishaps. We’ve looked into why this happens so often.
- Needle type and fabric thickness matter.
- Dull or bent needles cause strain.
- Stitching speed and force play a role.
- Thread type can also be a factor. Thread type can also be a factor; our guide to embroidery thread explains why.
Let’s walk through the most common reasons your embroidery needle might be snapping and how to fix it so you can get back to creating.
Understanding Why Your Embroidery Needle Snaps
It’s incredibly frustrating when your embroidery needle keeps breaking. You’re focused on your design, and then *snap* – the needle is in two. This common issue can halt your progress and feel like a waste of supplies. But don’t worry, we’ve researched the common causes, and they’re usually quite fixable.
Choosing the Right Needle for Your Fabric and Thread
The type of needle you use is the most critical factor in preventing breaks. Think of it like using the right tool for a job. A hammer won’t work well for hanging a picture; you need a screwdriver. Similarly, using the wrong needle for your fabric or thread is a surefire way to end up with a broken needle.
Needle Size Matters
Needles come in various sizes, indicated by numbers. Generally, larger numbers mean finer needles. If you’re using a thick fabric like denim or canvas, a fine needle (like an 80/12 or 90/14) might be too delicate. It just can’t handle the resistance. The needle will bend and eventually break under the strain.
Conversely, using a very thick needle on a lightweight fabric like silk or organza can create unnecessarily large holes. While this might not directly cause a break, it’s not the optimal choice. We found that matching needle size to fabric weight is key. For heavier fabrics, opt for a sturdier needle, usually in the 90/14 to 110/18 range.
Needle Type for Different Fabrics
Beyond size, different fabrics require specific needle types. Embroidery often involves denser stitching and sometimes thicker threads. This is where specialized embroidery needles shine.
- Universal Needles: These are good for general sewing and some light embroidery on stable fabrics. They have a slightly rounded point.
- Embroidery Needles: These are designed with a larger eye to accommodate embroidery threads, which are often thicker and can be prone to fraying. They also have a special scarf at the base that helps prevent skipped stitches and thread shredding.
- Denim/Jeans Needles: These are built to penetrate tough, tightly woven fabrics. They are strong and sharp, reducing the chance of breaking when stitching through heavy materials.
- Leather Needles: These have a chisel-like tip to cut through leather. You wouldn’t use these for standard embroidery fabric, but they show how specialized needles can overcome tough materials.
Many experts suggest that using a needle specifically designed for embroidery, or at least a strong universal needle, is your best bet for most embroidery projects.
Thread Considerations
The type of thread you use also plays a role. Thick, metallic, or specialty threads can put extra stress on your needle. A standard needle might not have a large enough eye or the necessary strength to push through the fabric with these threads.
If you’re using a thick embroidery floss or metallic thread, ensure your needle has a large eye. This prevents the thread from snagging or shredding, which can cause resistance. We found that some specialty embroidery needles are designed for these materials, making the process much smoother.
The Impact of Needle Condition: Dull or Bent
Even the best needle can cause problems if it’s not in good condition. A dull or bent needle is a recipe for a broken needle and potentially damaged fabric.
When Your Needle Gets Dull
Needles work by piercing fabric. Over time, the tip of the needle wears down. This dulling effect means it takes more force to push the needle through the fabric. This extra pressure is precisely what can lead to bending and breaking. Dull needles also tend to push the fabric fibers apart rather than piercing them cleanly.
We’ve found that changing your needle frequently is a simple yet effective practice. If you notice your machine starting to struggle, or your stitches looking a bit ragged, it might be time for a fresh needle. It’s a small investment that can save you a lot of headaches.
Identifying a Bent Needle
A bent needle is often subtle. You might not even notice it until it starts causing issues. If your needle hits the presser foot or the needle plate, it’s likely bent. You can check by looking down the shaft of the needle from the front or by gently running your finger along its length (carefully!).
A bent needle creates an uneven stitch and can lead to skipped stitches or thread breakage, in addition to needle snapping. Think of it like trying to drive a nail with a bent hammer – it’s not going to go in straight. Replace a bent needle immediately. It’s not worth the risk.
Excessive Force and Stitching Speed
How you stitch and how fast you go can significantly impact your needle’s lifespan.
The “Pushing Too Hard” Problem
Are you forcing the fabric or machine? Sometimes, when the fabric isn’t feeding correctly, or there’s an obstruction, people tend to push down on the fabric or try to manually guide it too aggressively. This puts immense sideways pressure on the needle.
Needles are designed to withstand downward force, but they are not strong against sideways bending. Let your sewing machine do the work. If the fabric isn’t moving smoothly, stop and investigate the cause. We’ve seen many broken needles result from trying to force the material.
Stitching Speed and Vibrations
Sewing at excessively high speeds, especially on thicker fabrics, can cause the needle to vibrate. This vibration, combined with the force of piercing, can weaken the needle over time. The repeated stress can lead to fatigue, making the needle more susceptible to breaking. Many modern embroidery machines have adjustable speed settings for a reason.
Slowing down, particularly when starting a new project or working with challenging materials, can make a big difference. A controlled pace allows the needle to perform its job without unnecessary strain. We found that slower, steady stitching often leads to better results and fewer broken needles.
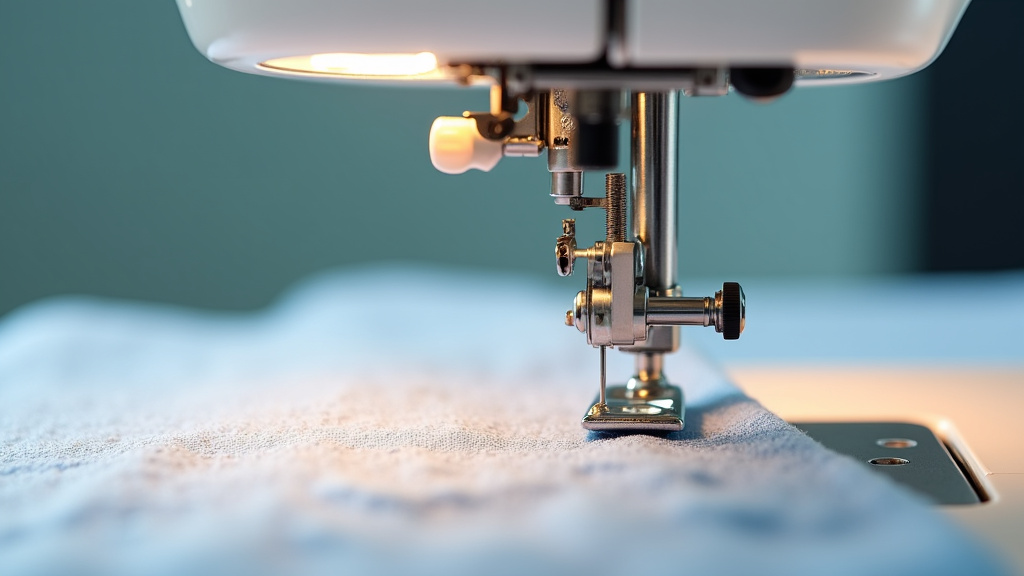
Common Scenarios Leading to Needle Breaks
Let’s look at some specific situations where needle breaks are more common.
Fabric Bunching or Puckering
If your fabric starts to bunch up under the needle, it creates resistance. The needle tries to push through this bunched material, which is like trying to push through a tiny knot. This extra effort can cause the needle to bend and snap.
Ensure your fabric is properly hooped and stabilized. A good stabilizer prevents the fabric from stretching or puckering during stitching. We found that a well-hooped fabric is the foundation for smooth stitching and fewer needle issues.
Needle Hitting an Obstruction
Did your needle hit a pin? Or perhaps a stray bobbin thread got caught? Any hard object that the needle strikes can cause immediate breakage. Pins are particularly tricky because they are small and can be accidentally stitched over if not removed.
Always remove pins before you reach them with your sewing machine. It’s a basic rule, but easy to forget when you’re in the zone. Similarly, check for any tangled threads under the needle plate or bobbin area. Prevention is key here; a tiny obstruction can mean a replacement needle.
Troubleshooting Checklist for Broken Needles
If your embroidery needle keeps breaking, run through this quick checklist. We’ve found these steps cover most issues.
- Check Your Needle Type: Is it an embroidery needle or suitable for your fabric?
- Inspect Needle Condition: Is it sharp, straight, and free of burrs?
- Assess Fabric: Is your fabric too thick for the needle, or is it properly stabilized?
- Examine Thread: Is the thread suitable for the needle and fabric? Is it snagging?
- Review Stitching Habits: Are you pushing the fabric or sewing too fast?
- Confirm Machine Function: Is your machine feeding fabric smoothly?
Conclusion
Your embroidery needle breaking is a fixable problem. It often comes down to a few key things: the needle type and size, its condition, and how you’re stitching. Using the right needle for your fabric and thread, keeping your needles sharp and straight, and letting your machine do the work without forcing it are the biggest steps you can take. We’ve found that paying attention to these details leads to smoother stitching and fewer interruptions. So, next time you grab your embroidery supplies, take a moment to check your needle – it might just be the simple solution you need to keep creating without a snap!
Frequently Asked Questions
How often should I change my embroidery needle?
We recommend changing your embroidery needle every 6-8 hours of continuous stitching. If you’re working with very thick fabrics or specialty threads, you might need to change it even sooner. A dull needle causes more strain and can lead to breaks.
Can the type of thread really break a needle?
Yes, certain threads can contribute to needle breaks. Thick, metallic, or loosely spun threads require a needle with a larger eye to prevent snagging. If the thread consistently catches or causes resistance, it puts extra stress on the needle, making it more likely to snap.
What’s the difference between a sewing machine needle and an embroidery needle?
Embroidery needles are specifically designed for decorative stitching. They typically have a larger eye to accommodate thicker embroidery threads and a special scarf to help prevent skipped stitches. While universal needles can work for some projects, an embroidery needle is usually the better choice for dedicated embroidery.
My needle keeps bending before it breaks. What am I doing wrong?
A bending needle usually means you’re encountering too much resistance. This could be from using a needle that’s too fine for your fabric, a dull needle tip, or forcing the fabric through the machine. Make sure your needle is appropriate for the fabric weight and that it’s sharp and straight.
Is it okay to stitch over pins by accident with my embroidery needle?
No, you should always avoid stitching over pins. Hitting a pin, even a small one, can cause immediate needle breakage or serious damage to your machine’s internal parts. It’s best practice to remove pins before you reach them during stitching.