What Needle for Embroidering on Knit Fabric?
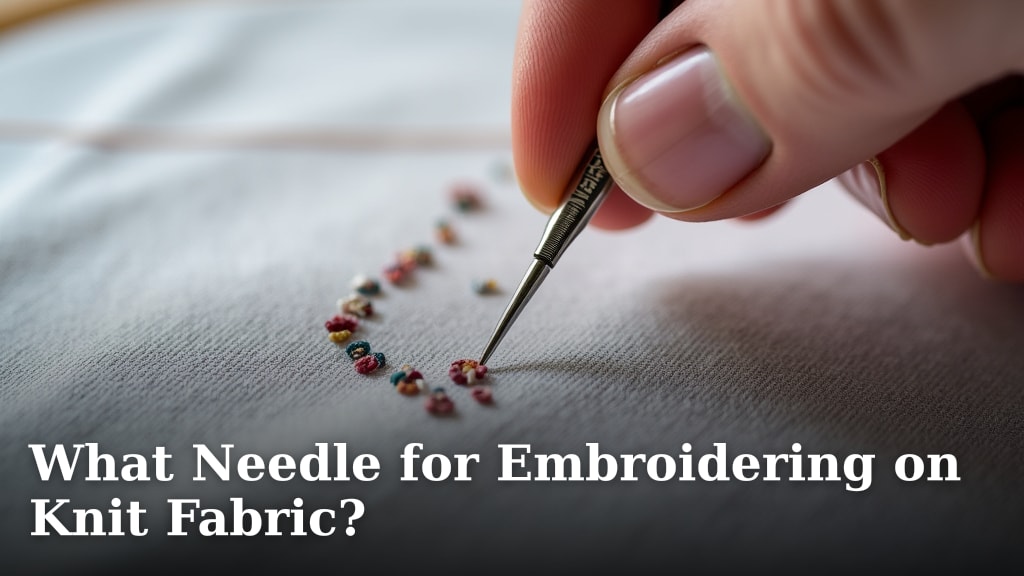
When embroidering on knit fabric, you need a special type of needle. A ballpoint needle is your best bet. It has a rounded tip that glides between the yarn fibers. This prevents snags and holes in your stretchy material.
Using the wrong needle can cause frustrating problems. You might get skipped stitches or torn fabric. A ballpoint needle is designed to work with the way knits stretch. This is key for successful stitching on garments like t-shirts or sweaters. We found this makes a big difference.
- Use a ballpoint needle for knits.
- Its rounded tip avoids fabric damage.
- This prevents snags and skipped stitches.
- It’s essential for stretchy fabrics.
Let’s walk through exactly why a ballpoint needle is so important and what else you should consider for your knit embroidery projects.
Choosing the Right Needle for Your Knit Embroidery
When you’re ready to add some flair to your favorite knit shirt or cozy sweater with embroidery, the needle you choose matters a lot. It’s not just any needle that will do the job well. For knit fabrics, you absolutely need a special kind of needle. Think of it like wearing the right shoes for a hike – you need the right gear for the job!
Why Knit Fabrics Are Different
Knit fabrics are stretchy. They’re made by interlocking loops of yarn. This is different from woven fabrics, which have threads going both horizontally and vertically. Because knits stretch, they can easily snag or get holes if you use the wrong tools. A standard sharp needle can pierce the yarn fibers. This often leads to dropped stitches or unsightly damage. You want your embroidered creation to look its best, right? Learning about the various types of embroidery thread will help you select the best option for your knit fabric project.
The Ballpoint Needle: Your Knit Fabric’s Best Friend
So, what’s the secret weapon? It’s the ballpoint needle. We’ve found that this is the go-to for stitchers working with knits. What makes it so special? Its tip. Instead of being sharp to a point, it’s rounded. This rounded tip is designed to gently push aside the yarn fibers as it passes through the fabric. It doesn’t pierce them. This action is key to preventing skipped stitches and fabric damage.
How the Ballpoint Needle Works
Imagine sliding between two friends holding hands. A sharp needle is like trying to cut through their hands. A ballpoint needle is like gently slipping between their arms without breaking their hold. This is exactly what it does to the yarn loops in your knit fabric. It allows the needle to go through the fabric without creating new holes or damaging the existing structure. This maintains the fabric’s integrity and gives you a much cleaner stitch.
Understanding Needle Sizes for Knits
Just like with any sewing project, the size of your needle matters. You’ll see needles labeled with numbers. These numbers refer to the needle’s diameter. Generally, a larger number means a thicker needle. For most knit embroidery, a medium-sized ballpoint needle is a good starting point. Sizes like 80/12 or 90/14 are common and work well for many types of knits.
When to Go Thicker or Thinner
If you’re working with a very fine knit, like a lightweight t-shirt material, you might opt for a slightly thinner needle. Something around an 80/12 could be perfect. For thicker knits, such as those found in sweaters or fleece, a slightly thicker needle, like a 90/14, might be more suitable. It needs to be sturdy enough to handle the denser fabric without bending or breaking. We found that experimenting with a couple of sizes can help you find the sweet spot for your specific project.
Beyond the Needle: Other Essential Supplies
While the needle is super important, other supplies play a big role in successful knit embroidery. You don’t want to overlook these helpers. They work together with your ballpoint needle to create a beautiful finished product.
Stabilizers: The Unsung Heroes
Stabilizers are materials you use to support the fabric. They prevent stretching and distortion during the embroidery process. For knits, this is especially important because they are so stretchy. You’ll typically use two types: tear-away and cut-away.
Tear-Away Stabilizers
Tear-away stabilizers are great for lighter knits. You hoop them with your fabric. After you’re done embroidering, you simply tear away the excess stabilizer from the back. It’s quick and easy. Many guidelines suggest this for projects where you don’t want a permanent stabilizer backing. However, be gentle when tearing so you don’t disturb your stitches.
Cut-Away Stabilizers
Cut-away stabilizers are more robust. You hoop them with your fabric too. After stitching, you carefully trim the excess stabilizer close to the stitches with small, sharp scissors. This type is excellent for knits that have a lot of stretch or for designs with a lot of dense stitching. It provides a more permanent and stable foundation. Many crafters find this offers the most professional finish for knit items.
Hooping Your Knit Fabric Correctly
How you hoop your fabric makes a difference. You want to hoop both the knit fabric and the stabilizer together. The goal is to have a taut but not overly stretched surface. If you stretch the fabric too much while hooping, your design might pucker when the tension is released. If it’s too loose, you’ll get wobbly stitches. Many experienced embroiderers recommend hooping with the fabric and stabilizer slightly relaxed, then tightening the hoop. This is a tip we found to be quite effective.
Embroidery Thread Choices
The type of thread you use can also impact your results. For knit fabrics, we found that polyester embroidery threads are often a good choice. They have a bit more give and are generally quite durable. Rayon threads can also work, but they are less forgiving if the fabric stretches unexpectedly. Always consider the weight of your thread in relation to your needle and fabric.
A Quick Checklist for Success
To wrap things up, here’s a quick rundown of what you should remember:
- Always use a ballpoint needle for knit fabrics.
- Choose the right needle size for your specific knit thickness.
- Pair your needle with an appropriate stabilizer (tear-away or cut-away).
- Hoop your fabric and stabilizer correctly – taut but not overstretched.
- Consider using durable polyester embroidery thread.
- Test stitch on a scrap piece of fabric first.
When to Consider a Twin Needle
Sometimes, you might see recommendations for a twin needle. These are essentially two needles attached to a single shank. They are typically used on sewing machines for creating decorative effects or for hemming knits. For standard embroidery machine work, they aren’t usually the first choice. The ballpoint needle is still the primary recommendation for the actual embroidery stitches you’ll be making with your machine.
Thread Tension: A Delicate Balance
Getting your thread tension just right is a balancing act. Knits have a natural give. If your top thread tension is too tight, it can pull on the fabric and cause puckering. If it’s too loose, your stitches might look sloppy or skip. Many embroidery machines have adjustable tension settings. We found that a slightly looser top tension setting often works best for knits. Always test on a scrap piece of your knit fabric and stabilizer combination before starting your main project. This step alone can save you a lot of frustration!
Final Thoughts on Needle Selection
Choosing the right needle is foundational for beautiful knit embroidery. The ballpoint needle, with its gentle, rounded tip, is designed to work *with* the stretch of your fabric, not against it. By pairing it with the correct stabilizer, proper hooping, and a bit of attention to thread tension, you’re well on your way to creating fantastic embroidered items on your favorite knit garments. Happy stitching!
Conclusion
You’ve learned that the secret to great embroidery on knits is the ballpoint needle. Its rounded tip gently pushes fabric fibers aside, preventing snags and skipped stitches that can ruin your project. Remember to also consider your needle size, pairing it with the right stabilizer, and hooping correctly. These steps ensure your stitches look clean and professional on stretchy fabrics. The next time you’re ready to personalize a t-shirt or sweater, you’ll know exactly what needle to grab. Now, go ahead and stitch with confidence!
Frequently Asked Questions
Can I use a regular sharp needle for embroidery on knits?
No, it’s best to avoid sharp needles on knit fabrics. A sharp needle can pierce and damage the delicate yarn fibers, leading to holes and skipped stitches. A ballpoint needle is specifically designed to glide between these fibers without causing damage.
What’s the difference between a ballpoint needle and a universal needle?
A universal needle has a sharper point and is suitable for a wide range of woven fabrics. A ballpoint needle, on the other hand, has a rounded tip. This rounded tip is essential for knits because it allows the needle to pass through the fabric without snagging or breaking the loops of yarn.
How do I know which size ballpoint needle to use for my knit fabric?
For most common knits, like t-shirt material, an 80/12 or 90/14 ballpoint needle is a good starting point. If you’re working with a very fine or lightweight knit, a slightly thinner needle might be better. For thicker knits, like sweaters, a slightly thicker needle can provide more stability.
Are there any special considerations for thread when embroidering knits?
Yes, thread choice can matter. We found that polyester embroidery threads often work well on knits because they have good durability and a slight amount of stretch, which complements the fabric. While rayon can look beautiful, it’s less forgiving if the fabric stretches unexpectedly during stitching.
What happens if I don’t use a stabilizer with my knit embroidery?
Without a stabilizer, knit fabrics can stretch and distort significantly during the embroidery process. This often results in puckered designs, uneven stitches, and a generally unprofessional finish. Stabilizers provide the necessary support to keep your fabric stable while you stitch.