What Is a Wing Needle?: In Plain English
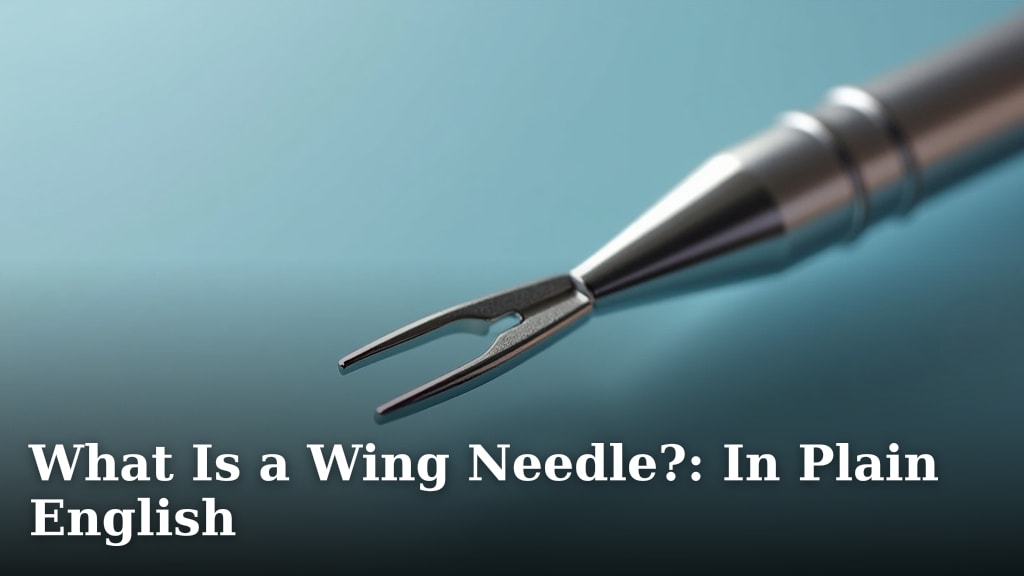
A wing needle is a specialty sewing machine needle used for creating decorative stitches, particularly for hemstitching and smocking. Unlike a standard needle, its unique design allows it to make a wider, flatter stitch. Think of it as a shortcut to beautiful, professional-looking finishes on your fabrics.
You might have seen this needle described as a “hemstitch needle” or “ladder stitch needle.” It’s designed to work with specific stitch settings on your sewing machine. Using a wing needle can really make your sewing projects stand out. It adds a delicate, lacy look that’s hard to achieve otherwise.
- A wing needle is for decorative stitches like hemstitching.
- It has a “wing” on the side to create wider stitches.
- It’s great for adding professional finishes to fabric edges.
- It can make smocking and decorative borders look amazing.
- Using it is simpler than traditional hemstitching methods.
Ready to see how this handy tool can transform your sewing? Let’s dive into what a wing needle is and how you can start using it on your next project.
Understanding the Wing Needle for Your Sewing Projects
So, you’ve heard about wing needles and are curious about what makes them special? You’re in the right place. A wing needle is a unique sewing tool. It’s designed to help you create beautiful decorative stitches. Think of it as a secret weapon for adding a professional touch to your sewing. It makes certain decorative techniques much easier to achieve.
Unlike standard needles, this one has a distinctive design. It features a small “wing” or blade on each side of its shaft, just above the eye. This unique feature is what allows it to do its magic. It creates a wider, more open stitch than you could get with a regular needle. We’ll get into the details of how that works.
What Exactly Is a Wing Needle?
At its core, a wing needle is a specialty sewing machine needle. Its primary job is to create decorative effects. The most common uses are for creating ‘hemstitching’ or ‘ladder stitching’. It can also be used for decorative borders and certain types of smocking. Many sewists find it simplifies techniques that would otherwise be quite time-consuming.
The “wing” part is key. When the needle goes through the fabric, these small wings spread the fabric fibers apart. This creates a small hole or a gap. The thread then passes through this gap, forming a wider, flatter stitch. It’s this action that gives the characteristic ‘ladder’ or ‘openwork’ look.
How Does the Wing Needle Work?
Let’s break down the magic. A standard needle pushes the fabric down as it goes through. It creates a tight stitch. A wing needle does something different. The wings push the fabric sideways. They spread the threads of the weave apart. This creates a larger opening for the stitch to form. The result is a much looser, more open stitch.
Think of it like this: A regular needle is like a pushpin. It just pushes through. A wing needle is more like a tiny wedge. It gently separates the fabric as it passes. This separation is what allows for that decorative effect. It’s a clever bit of engineering for sewing machines. You don’t need a special machine; just the right needle.
The Mechanics of the “Wing”
The wing itself is very small. It’s usually made of hardened steel. It’s designed to be durable but also precise. The shape is tapered. This helps it ease through the fabric without causing damage. It works best on certain types of fabric. Tightly woven cottons and linens are ideal. Looser weaves might snag or distort too much.
You’ll notice the wing is typically on one side only, or sometimes two small ones. This design is intentional. It guides the needle to create the stitch in a specific way. The needle needs to be inserted correctly. Usually, the wing is positioned to the right when you’re facing the machine. Always check your needle’s instructions.
Key Uses for Your Wing Needle
So, what can you actually do with this needle? The most popular use is creating hemstitching. This is a technique that makes a fabric edge look like it has decorative bars or ‘ladders’ running through it. It’s a beautiful way to finish seams, hems, or decorative inserts. It gives a very high-end, tailor-made appearance.
Another common application is decorative borders. You can use the wing needle to create fine, lace-like lines. These can be used to separate fabric panels, add trim, or create a delicate pattern. It adds a subtle yet striking detail to garments, home decor, and craft projects. It’s fantastic for adding a feminine touch.
Hemstitching Made Easy
Traditionally, hemstitching involves carefully removing threads from the fabric. Then, you stitch around the remaining threads to create the ladder effect. This can be incredibly detailed and time-consuming work. Many sewists find it quite challenging to get right. It requires a lot of patience and precision.
The wing needle automates much of this. You set your machine to a specific stitch type. Often, this is a zigzag stitch or a special heirloom stitch. Then, you simply sew along your chosen line. The needle does the work of spreading the fabric. Your machine creates the decorative stitch over the opened area. It’s a huge time-saver.
Decorative Borders and Smocking
Beyond hemstitching, the wing needle is great for decorative borders. Imagine sewing two pieces of fabric together. Instead of a standard seam, you use the wing needle. It creates a decorative line where the fabrics meet. This can add a beautiful border effect to placemats, napkins, or pillowcases.
It can also be used for certain types of smocking. Smocking is a technique that gathers and pleats fabric. It often creates decorative patterns. A wing needle can be used to create some of the open, lacy effects seen in heirloom smocking. This requires specific stitch settings and practice, but the results can be stunning.
Setting Up Your Sewing Machine
Using a wing needle isn’t complicated, but it does require a few specific steps. The most important thing is to use the right settings on your sewing machine. Not all machines have the exact same settings, so always consult your manual.
First, make sure you are using a machine that can handle a wider stitch width. The wing needle works by creating a wider stitch. If your machine’s maximum stitch width is too narrow, you won’t get the desired effect. Most modern machines can accommodate this.
Choosing the Right Stitch
You’ll want to select a stitch that is designed to work with the wing needle. Often, this is a straight stitch or a narrow zigzag stitch. The key is how the stitch is programmed on your machine. You’re looking for a stitch that sews a few stitches in one place and then moves slightly. This creates the open, decorative effect.
Some machines even have specific ‘hemstitch’ or ‘ladder stitch’ settings. If yours does, that’s your best bet. If not, a straight stitch with a slightly looser tension can work well. Experimentation is key. Try sewing on a scrap piece of your project fabric first. This helps you find the perfect stitch length and width.
Needle Insertion and Fabric Choice
As mentioned, correct needle insertion is vital. Most manufacturers recommend placing the wing to the right when you are facing the front of your machine. This orientation allows the wings to spread the fabric fibers correctly for the stitch formation. Always double-check your needle’s packaging for specific instructions.
The type of fabric you use also matters. Wing needles work best on medium-weight, closely woven fabrics. Think of quilting cottons, linens, and fine poplins. Avoid very delicate or loosely woven fabrics. These can be easily damaged or distorted by the needle’s action. Test on a scrap first!
When to Use a Wing Needle vs. Other Needles
It’s important to know that a wing needle isn’t for every sewing task. It’s a specialty tool for specific decorative outcomes. For everyday sewing, like constructing garments or quilting seams, you’ll want to stick with a standard universal needle or a needle suited for your fabric type (like a ballpoint for knits).
A wing needle is for when you want that particular hemstitch or ladder effect. It’s for adding that extra touch of elegance. You wouldn’t use it for a standard French seam or to attach a zipper. Its purpose is purely decorative and focused on creating openwork stitches.
| Feature | Wing Needle | Standard Needle |
|---|---|---|
| Primary Use | Decorative stitches, hemstitching, ladder stitch | General sewing, garment construction, quilting |
| Design | Has small “wings” on the shaft | Smooth shaft |
| Stitch Effect | Creates wider, open stitches by spreading fabric | Creates tight, dense stitches |
| Best For | Decorative borders, heirloom sewing, unique finishes | Structural seams, everyday sewing tasks |
Tips for Success with Your Wing Needle
To get the best results with your wing needle, keep a few things in mind. Always start with a new needle. A dull or damaged needle can cause skipped stitches or fabric snags. Ensure it’s inserted correctly, with the wing facing the right direction (usually right).
Test your settings on a scrap piece of fabric. This is the golden rule of sewing! Adjust your stitch length, width, and tension until you achieve the desired look. What looks perfect on one fabric might need tweaking on another. Don’t be afraid to experiment a little.
Troubleshooting Common Issues
If you’re experiencing skipped stitches, it could be your machine’s tension is too tight. Try loosening the upper tension slightly. If the stitches look messy or bunched, you might need to adjust your stitch length or width. Sometimes, a different thread or fabric type can also influence the outcome.
If the fabric seems to be getting pulled or distorted, double-check that you’re using a suitable fabric. Tightly woven cottons are usually the most forgiving. Make sure your machine is set to the correct stitch. For example, if you’re trying to do a specific hemstitch, ensure your machine is on the right programmed stitch.
Here’s a quick checklist to keep you on track:
- Use a new, sharp wing needle.
- Ensure the needle is inserted correctly (wing usually to the right).
- Choose a suitable fabric (medium-weight, tightly woven).
- Test your stitch settings on a scrap piece.
- Adjust tension, stitch length, and width as needed.
- Consult your sewing machine manual for specific stitch recommendations.
Conclusion
You’ve learned that a wing needle is a sewing machine’s special tool. It’s perfect for adding beautiful decorative stitches like hemstitching and unique borders. Unlike a standard needle, its “wings” create wider, open stitches by gently spreading fabric fibers. This makes achieving professional, heirloom-quality finishes much simpler. Don’t let intimidating techniques hold you back. Ready to give your projects that extra touch of elegance? Your next step is to find the right wing needle size for your machine and try it on a scrap fabric!
Frequently Asked Questions
Can I use a wing needle on all sewing machines?
Most modern sewing machines can use a wing needle. You’ll need to ensure your machine can handle a sufficiently wide stitch width. Always check your machine’s manual for its maximum stitch width capabilities. Some older or very basic machines might have limitations.
What is the difference between a wing needle and a hemstitch needle?
These terms are often used interchangeably. A “wing needle” refers to the needle’s design with its side “wings.” A “hemstitch needle” describes one of its primary uses. Essentially, a wing needle is the tool you use to create a hemstitch effect.
Do I need a special thread for wing needles?
You generally do not need special thread for wing needles. Standard all-purpose polyester or cotton thread works well. However, using a slightly thinner thread might help achieve a more delicate look. Thicker threads can sometimes look too bulky in the opened stitches.
Can a wing needle be used for quilting?
A wing needle is not typically used for standard quilting seams. Its purpose is for decorative openwork stitches. While you might use it for decorative borders on quilted items, it’s not suitable for piecing quilt blocks or attaching the quilt binding.
How do I know which size wing needle to buy?
Wing needles come in different sizes, usually indicated by a number like 1.5mm or 2.0mm. This number refers to the width of the opening the wings create. A 1.5mm is good for finer fabrics and subtle effects, while a 2.0mm creates a more pronounced open stitch. Check your fabric type and desired look to choose the best size.