Needles for Machine Embroidery: A Complete Guide
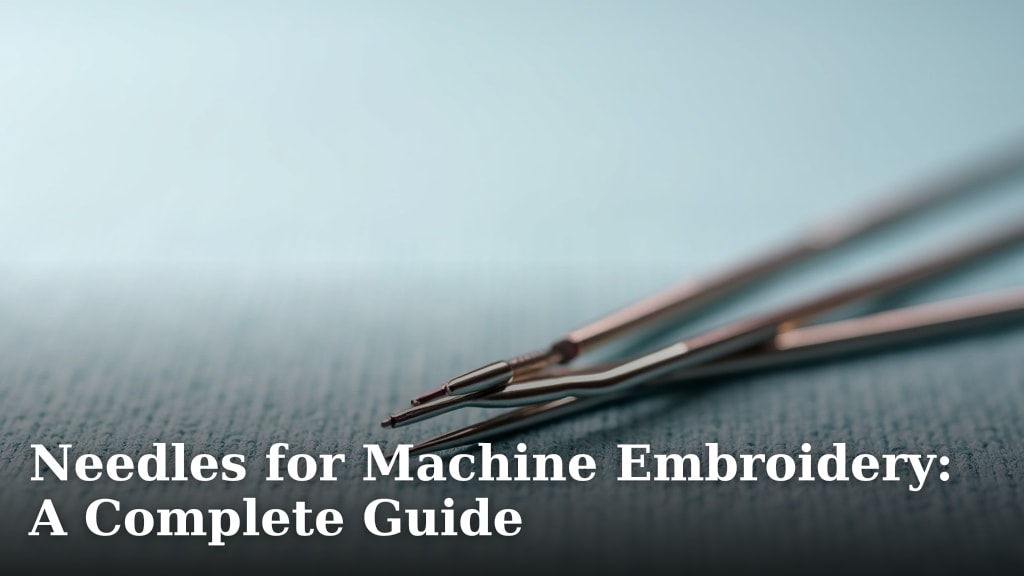
Choosing the right needles for your machine embroidery is key. The correct needle type prevents skipped stitches and fabric damage. It makes your embroidery project look its best. Always match your needle to your fabric and thread type for best results.
Many crafters wonder about the differences between needle sizes and tips. We found that using the wrong needle can cause headaches. It can fray your fabric or even break your machine’s needle bar. Understanding your options ensures smoother stitching and professional-looking results.
- Different needle types exist for various fabrics.
- Needle size matters for thread weight and fabric thickness. Needle size matters for thread weight and fabric thickness, and our guide to machine embroidery thread explains the options.
- Sharp points are for wovens, ballpoints for knits.
- Always use a fresh needle for each project.
Let’s walk through exactly what you need to know about machine embroidery needles.
Choosing the Right Needles for Your Machine Embroidery
Picking the proper needle for your machine embroidery is more than just grabbing any sharp object. It’s about ensuring your stitches lay down beautifully and your fabric stays intact. We found that the correct needle can make a huge difference in the quality of your finished project. Let’s talk about what makes a needle the right one for the job.
Understanding Needle Anatomy: What’s What?
Embroidery needles might look simple, but they have a few key parts that affect their performance. Understanding these will help you make better choices. Think of it like choosing the right tool for a specific job in your workshop.
The Eye: More Than Just a Hole
The eye of the needle is where your thread goes. For embroidery, this eye is usually a bit larger and wider than a standard sewing needle. This is important because embroidery thread is often thicker than regular sewing thread. A larger eye prevents the thread from fraying or breaking as it passes through.
The Shaft: Keeping It Steady
This is the long, smooth part of the needle. Its main job is to hold the needle steady as it plunges into your fabric. The shaft’s diameter is what determines the needle’s size. A thicker shaft is for heavier fabrics and threads, while a thinner one is for finer materials.
The Point: The Sharp (or Not-So-Sharp) End
The point of the needle is critical. It’s what pierces your fabric. For most woven fabrics, you’ll want a sharp point. This glides through the fibers cleanly. For knit fabrics, which are stretchy, a ballpoint or rounded tip is usually better. We found that this type of point pushes the fabric fibers aside rather than cutting them, preventing runs or holes.
The Groove and Scar: Thread’s Highway
The groove runs down the front of the needle, from the eye to the point. It’s designed to protect your thread as it goes in and out of the fabric. The scar is a slight widening near the eye. Together, they help your thread flow smoothly without snagging. Keeping these clean is key!
Needle Sizes and Thread Types: A Perfect Match
Needle size is a big deal in machine embroidery. It’s not just about how big the needle looks; it’s about its diameter. This diameter needs to work with your fabric and your thread.
What Do Those Numbers Mean?
Embroidery needles come in different sizes, often shown as numbers like 75/11, 80/12, or 90/14. The first number (metric) is the diameter in millimeters, and the second number (US) is a similar sizing system. So, a 75/11 needle is smaller than a 90/14 needle. We found that generally, smaller numbers mean thinner needles.
Matching Needle Size to Thread and Fabric
The general rule is: thinner thread and fabric need a thinner needle, and thicker thread and fabric need a thicker needle. Using a needle that’s too large for thin fabric can create visible holes. If your needle is too small for your thread, it can shred the thread or cause skipped stitches.
- For fine to medium fabrics (like cotton, linen blends) and standard embroidery thread (40 wt), a size 75/11 or 80/12 is often a good choice.
- For thicker fabrics (like denim, canvas) or using heavier threads (like metallic or 30 wt rayon), you might need a 90/14 or even 100/16 needle.
We’ve seen that many embroidery projects work well with an 80/12 needle, making it a common go-to size. However, always check your thread manufacturer’s recommendations and your fabric type.
Specialty Needles for Specific Embroidery Needs
While a universal needle can work for many tasks, specialty needles are designed to overcome specific challenges. Using the right one can save you time and frustration.
The Ballpoint (or Jersey) Needle
These needles have a rounded tip. They are fantastic for stretchy fabrics like knits, t-shirts, and athletic wear. Instead of piercing the fabric, the ballpoint gently pushes the fibers apart. This prevents the dreaded “ladder” effect or skipped stitches that can happen when a sharp point cuts the stretchy threads.
The Sharp Point (or Universal) Needle
As mentioned, these are best for woven fabrics. They create a clean hole for smooth stitching. A universal needle is a good all-rounder, but for tricky fabrics, a specialty needle often performs better.
The Microtex (or Fine Point) Needle
These needles have a very fine, sharp point. They are excellent for tightly woven synthetic fabrics, microfiber, or faux leather. Their precision helps create clean perforations without damaging delicate materials. We found they are also great for getting a crisp stitch definition with very fine threads.
Metallic Needles: For That Extra Sparkle
Metallic threads are beautiful but can be challenging to work with. They are often made of plastic or foil and can snag or shred easily. Metallic needles have a larger eye and a special coating (often titanium) to help the metallic thread glide smoothly. This significantly reduces thread breaks and makes your metallic designs shine.
Leather or Heavy Duty Needles
If you’re working with leather, vinyl, or very thick canvas, you’ll need a needle designed for the job. These needles are built to pierce tough materials without bending or breaking. They often have a wedge-shaped or chisel tip.
When to Change Your Embroidery Needle: A Simple Checklist
Needles aren’t meant to last forever. They get dull and can cause problems. Think of them like the tires on your car; they wear out with use. Changing your needle regularly is one of the easiest ways to improve your embroidery quality.
When should you swap out your needle? We’ve put together a quick checklist:
- After 6-8 hours of embroidery: Many experts suggest this general guideline for continuous use.
- If you hear a clicking sound: This might mean the needle is slightly bent or dull, not seating properly.
- When you see skipped stitches: This is a common sign of a dull or damaged needle.
- If your thread is fraying or breaking: The needle eye or point might be damaged.
- When stitching on a new fabric type: It’s often best to start with a fresh needle.
- If you’re using metallic or specialty threads: These threads can wear down needles faster.
Using a fresh, sharp needle for every major project is a best practice. It ensures the best stitch quality and prevents unnecessary stress on your machine.
Conclusion
You’ve learned that the right embroidery needle is a simple yet powerful tool. Matching your needle to your fabric and thread is key to avoiding skipped stitches and fabric damage. We found that understanding needle parts, sizes, and specialty types makes a big difference. Don’t forget to change your needle often; it’s one of the easiest ways to improve your results. Make it a habit to grab a fresh, sharp needle for your next project to ensure your embroidery looks its very best.
Frequently Asked Questions
Can I use a regular sewing needle for machine embroidery?
While a universal sewing needle can sometimes work for very basic embroidery, it’s not ideal. Embroidery threads are typically thicker and can fray or break in a standard sewing needle’s smaller eye. We recommend using needles specifically designed for machine embroidery for the best results and to protect your thread.
How often should I really change my embroidery needle?
A good rule of thumb is to change your needle after about 6 to 8 hours of continuous embroidery time. If you notice skipped stitches, thread breakage, or hear clicking sounds, it’s definitely time for a change, even if you haven’t reached the time limit. Fresh needles prevent many common embroidery frustrations.
What’s the difference between a sharp point and a ballpoint needle?
A sharp point needle is designed to pierce fabric cleanly, which is perfect for woven materials. A ballpoint needle has a rounded tip that pushes fabric fibers apart instead of cutting them. We found this makes ballpoint needles ideal for knit or stretchy fabrics, preventing snags and runs.
My metallic thread keeps breaking. What needle should I use?
Metallic threads require a special needle. Look for a “metallic needle” which features a larger eye to accommodate the thread and a special coating. This coating helps the thread glide smoothly, reducing friction and preventing it from shredding or breaking. It makes working with metallic threads much easier.
What happens if I use a needle that’s too big for my fabric?
Using a needle that’s too large for your fabric can create unnecessary holes. These holes might be too big for the thread to cover properly, making your embroidery look less neat. For very fine or delicate fabrics, always opt for a thinner needle size to maintain the fabric’s integrity.