Why Does Embroidery Thread Tangle?: What You Need to Know
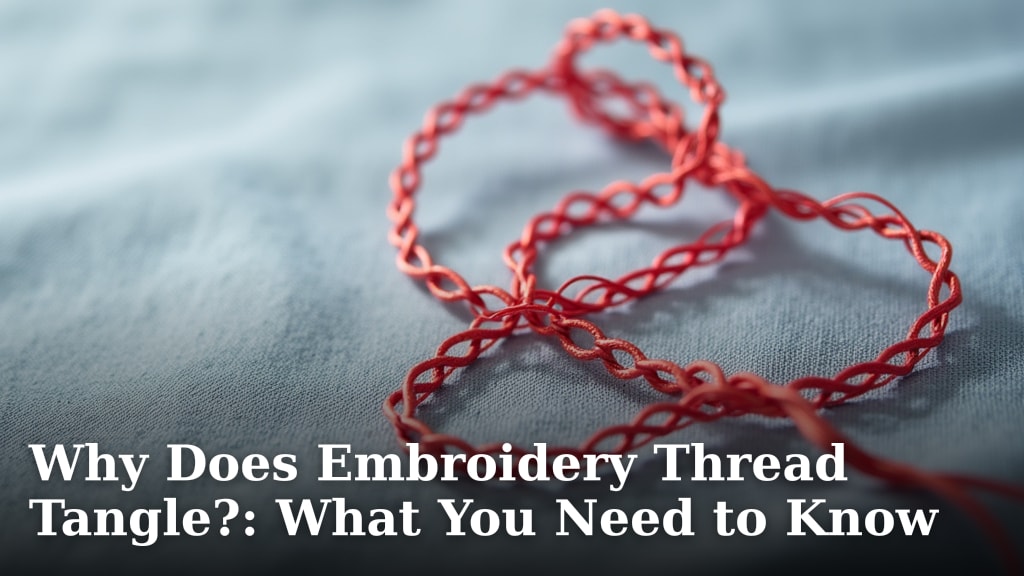
Embroidery thread tangles because of a few common issues. Most often, it’s caused by too much tension, improper winding of the bobbin, or the needle being the wrong size for your thread. Sometimes, simply the type of thread you’re using can contribute to knots. We’ve all been there, right?
Understanding why your thread gets knotted is the first step to preventing it. It’s not just about frustration; tangled threads can damage your machine and affect the final look of your stitches. We found that focusing on a few key areas can make a big difference. This includes checking your machine setup and the quality of your supplies.
- The main culprits for tangled embroidery thread are tension issues, bobbin winding, and needle choice.
- Sometimes, the thread material itself can lead to tangles.
- Pay attention to your machine’s tension settings.
- Always use the correct needle size for your thread.
- Proper bobbin winding is essential for smooth stitching.
Let’s walk through exactly why this happens and what you can do to keep your embroidery projects running smoothly.
Troubleshooting Your Thread Tangles: What’s Going On?
It’s a common sight: your embroidery machine is humming along, and then suddenly, a bird’s nest of thread appears. Tangled embroidery thread can be a real headache. We’ve all stopped our machines mid-stitch, feeling that familiar frustration. But understanding why it happens is the first step to fixing it. It’s often a simple fix, not a machine defect.
Research and our own experiences show that several factors can cause your thread to knot up. These range from how your machine is set up to the actual thread you’re using. Let’s break down the most frequent causes so you can get back to creating beautiful embroidery.
Understanding Thread Tension: The Balancing Act
Tension is probably the biggest culprit behind tangled threads. Think of it as a delicate balance. Your embroidery machine uses two threads: one in the needle and one from the bobbin. They need to meet each other at just the right point in the fabric. If one thread is pulling too hard, it can cause problems.
What Happens When Tension is Off?
When the upper thread tension is too tight, it pulls the bobbin thread up too far. This can create loops on the back of your fabric. Conversely, if the bobbin tension is too tight, or the upper thread tension is too loose, you’ll likely see loops or knots forming on the top. We found that many stitchers overlook the bobbin tension, but it’s just as important as the needle thread.
How to Adjust Your Tension
Most embroidery machines have adjustable tension dials for the upper thread. These are usually numbered. A common starting point is a mid-range setting, like 4 or 5, but this can vary by machine. You’ll typically make small adjustments, a quarter or half a turn at a time.
The bobbin tension is usually set by the manufacturer and is harder to adjust. If you suspect bobbin tension is the issue, it’s often best to check that the bobbin case is clean and that the bobbin is wound evenly. Many experts suggest replacing a bobbin case if it seems worn or damaged (Singer Sewing Company).
Signs of Incorrect Tension
- Loops or threads showing on the back of the fabric when the top tension is too loose.
- Loops or threads showing on the front of the fabric when the top tension is too tight.
- Skipped stitches or thread breaking.
- The stitch looks puckered or uneven.
The Bobbin: A Crucial, Yet Often Overlooked, Component
Your bobbin is essential for creating a complete stitch. If your bobbin thread isn’t wound correctly, it can lead to all sorts of tangling. Imagine trying to unwind a ball of yarn that’s all knotted up from the start – it’s a similar idea.
Proper Bobbin Winding Techniques
We found that a smooth, even wind on the bobbin is key. The thread should be wound neatly, with no overlapping or loose loops. If your machine has a bobbin winder, make sure it’s threading correctly. The thread should feed straight onto the bobbin.
Some machines have a tension adjustment for the bobbin winder. If yours does, consult your manual. Also, ensure you’re using the correct type of bobbin. Plastic bobbins are common, but some machines require pre-wound bobbins or specific casing types. Using the wrong bobbin can cause it to spin unevenly, leading to tangles.
Common Bobbin Winding Mistakes
- Winding thread too loosely or too tightly.
- Not threading the bobbin winder correctly.
- Using a damaged or improperly wound bobbin.
- Using the wrong type of bobbin for your machine.
Needles: The Right Tool for the Job
The needle might seem small, but it plays a huge role in preventing thread tangles. If your needle isn’t the right size or type for your thread or fabric, it can cause problems.
Matching Needle Size to Thread Weight
Embroidery thread comes in various weights, from fine to thick. The needle’s eye needs to be large enough for the thread to pass through comfortably without fraying. If the eye is too small, the thread will rub against it constantly. This friction can cause the thread to break or tangle.
Research suggests that using a needle that is too small for the thread is a common cause of tangles (Brother Sewing Machines). For standard embroidery thread (like 40-weight), a size 75/11 or 80/12 embroidery needle is often recommended. Thicker threads may require larger needles.
The Importance of a Sharp, Unbent Needle
A dull or bent needle can snag the fabric or the thread. This creates tiny pulls and snags that lead to knots. Think of trying to push a dull knife through butter – it’s messy! The same happens with a dull needle in fabric. We always recommend changing your needle regularly, especially after a long project or if you notice any stitching issues.
Choosing the Right Needle Type
For embroidery, you generally want to use a needle specifically designed for embroidery machines. These needles have a larger eye and a special scarf on the shank. This design helps protect the thread and prevent skipped stitches or breakage. Using a universal needle might work in a pinch, but an embroidery needle is best for smooth results.
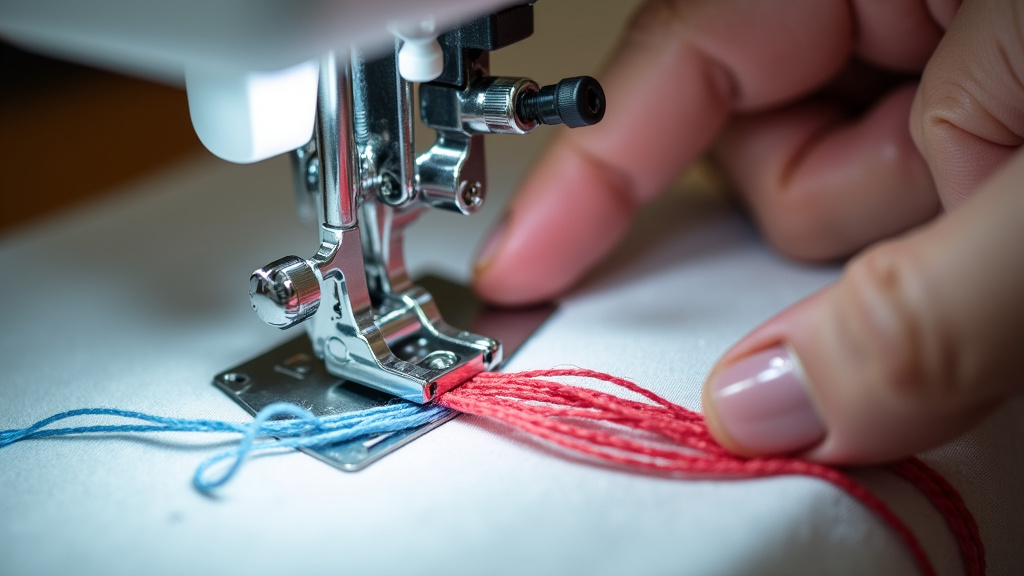
Thread Quality and Type: More Than Just Color
Did you know that the type of thread you use can actually contribute to tangles? Not all threads are created equal, and some are more prone to causing knots than others.
Rayon vs. Polyester Threads
Rayon embroidery thread is known for its beautiful sheen and vibrant colors. However, it can be a bit more delicate and prone to breaking or tangling if the tension isn’t perfect. Polyester thread is generally stronger and more durable. It often runs more smoothly through machines, making it a good choice if you’re struggling with tangles.
Metallic and Specialty Threads
Metallic threads look stunning, but they can be tricky to work with. They often have a core thread wrapped with metallic foil. This structure can make them stiffer and more likely to kink or break if your machine’s tension is too high or the needle is wrong. Many experts advise using a larger needle (like a size 90/14) and sometimes a specialized metallic needle when working with these threads (Sulky of America).
Old or Poor-Quality Thread
Thread that has been stored improperly, is very old, or is simply of low quality can become brittle. This brittle thread is more likely to fray and tangle. We found that investing in good-quality thread can save you a lot of frustration down the line.
Machine Maintenance: A Clean Machine is a Happy Machine
Sometimes, the tangles aren’t about the thread itself, but about the machine. Lint and dust can build up inside your machine, interfering with the smooth operation of the thread path.
Cleaning Your Machine Regularly
After every few projects, or if you notice increased tangling, it’s a good idea to clean your machine. Focus on the bobbin area, the feed dogs, and the presser foot. A small brush or compressed air can help remove lint. Many machine manuals provide specific cleaning instructions.
Checking the Thread Path
Make sure your thread is being guided correctly through all the tension discs and guides. Sometimes, a stray piece of lint can get caught in the tension discs, causing the thread to snag and tangle. We found that visually inspecting the entire thread path before starting a project can prevent many issues.
Quick Checklist for Smoother Stitching
Here’s a quick way to check your setup before you start your next embroidery project:
- Tension Check: Does your stitch look balanced on the front and back?
- Bobbin Check: Is your bobbin wound evenly and neatly?
- Needle Check: Is your needle sharp, unbent, and the correct size for your thread?
- Thread Check: Is your thread smooth and free of fraying or kinks?
- Machine Cleanliness: Is your machine free of lint in critical areas?
- Thread Path: Is the thread running smoothly through all guides and tension discs?
Conclusion
Tangled embroidery thread can be frustrating, but you now know it’s usually a fixable issue. You’ve learned that problems often stem from thread tension, how your bobbin is wound, and the needle you’re using. Even the type of thread and your machine’s cleanliness play a role.
By paying attention to these details, you can significantly reduce tangles. Before your next project, run through the quick checklist provided. Focus on proper setup and maintenance for smoother stitching. You’ve got this!
Frequently Asked Questions
What’s the easiest way to test my thread tension?
You can test your tension by embroidering a small test design on a scrap piece of fabric. Look at the front and back of the stitch. If you see loops on one side, your tension likely needs adjustment. We found small, incremental changes work best.
Can I use any thread for machine embroidery?
While you can technically use many threads, it’s best to use threads specifically designed for machine embroidery. These threads are constructed to handle the speed and stress of your machine, reducing the chance of breakage and tangles.
My thread keeps breaking, is that related to tangles?
Yes, thread breaking is often related to tangles. A dull or incorrect needle can cause the thread to snag, leading to breakage. Also, if your tension is too tight, it can put excessive strain on the thread, causing it to snap.
How often should I change my embroidery needle?
It’s a good practice to change your needle after about 6-8 hours of continuous embroidery. If you notice skipped stitches, thread breaks, or tangles that weren’t there before, it’s a sure sign your needle needs replacing.
What should I do if my bobbin thread is constantly knotting up?
If your bobbin thread is knotting, first check that it’s wound evenly onto the bobbin. Ensure you’re using the correct type of bobbin for your machine. Sometimes, simply re-inserting the bobbin case can resolve minor alignment issues.