Why Does Embroidery Thread Keep Fraying?
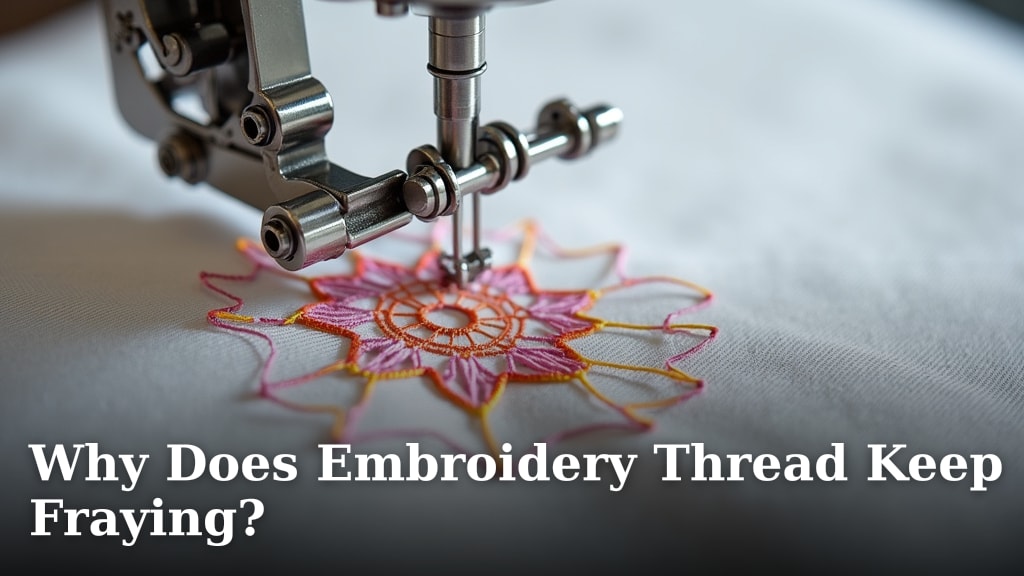
Your embroidery thread keeps fraying because of a few common issues. It’s often caused by too much friction when the needle passes through fabric. This can happen if your needle is too dull or the wrong size. Sometimes, the hoop is too tight or loose, also causing stress. We found these to be the most frequent culprits.
It’s frustrating when your beautiful thread breaks mid-stitch. This problem affects both beginners and experienced embroiderers. Understanding why it happens helps you prevent future issues and makes your stitching much smoother. We’ll look at the common causes and how to fix them.
- Thread frays due to needle friction.
- Dull or wrong-sized needles cause breaks.
- Hoop tension also plays a big role.
- Proper thread and needle choice prevents fraying.
Let’s walk through the reasons your embroidery thread might be fraying and how you can stop it from happening. You’ll be stitching smoothly in no time!
It’s a common stitcher’s lament: your embroidery thread starts looking fuzzy, splitting apart, or even breaking right when you’re in the middle of a beautiful design. This frustrating fraying can slow you down and mar your finished work. But don’t worry! By understanding the common reasons behind thread fraying, you can tackle the problem and get back to smooth, enjoyable stitching.
Troubleshooting Your Thread Fraying Issues
When your embroidery thread keeps fraying, it’s usually a sign that something in your stitching process is causing too much stress. We found that friction and tension are the main culprits.
The Needle: Your Thread’s First Encounter
Think of the needle as the gateway for your thread. If this gateway isn’t working perfectly, trouble can start right away. Research and found that the condition and type of your needle play a huge role in thread fraying.
Is Your Needle Dull or Damaged?
A dull needle is like trying to push a blunt pencil through paper. It forces its way, tearing rather than piercing. This tearing action snags and breaks the delicate fibers of your embroidery thread. You might not even realize your needle is dull until you see the fraying. We found that even slight dullness can cause problems.
Look closely at your needle. Do you see any burs, nicks, or a flattened tip? If so, it’s time for a new one. Even a tiny imperfection can cause damage. Many stitchers find replacing their needle every 4-8 hours of continuous stitching is a good habit (Embroidery Guild of America).
The Right Needle Size Matters
Just as important as sharpness is the size of your needle. A needle that’s too small for your thread will force the thread through the fabric, causing friction and breakage. Conversely, a needle that’s too large can create a hole too big, allowing the thread to snag on fabric fibers.
For standard embroidery floss (6-strand cotton), a size 8 or 9 needle is often recommended. If you’re working with finer threads, like silk or metallic threads, you might need a finer needle. For heavier threads or dense fabrics, a slightly larger needle could be better. We found that matching your needle size to your thread weight is key.
Needle Eye Considerations
The eye of the needle is where your thread passes through. If the eye is rough, too small, or has burrs, it can shred your thread. Some needles have larger eyes specifically designed for embroidery threads, which can help reduce friction. We found that smoother, well-finished needle eyes make a difference.
Hoop Tension: The Fabric’s Grip
Your embroidery hoop holds your fabric taut so you can stitch cleanly. However, incorrect hoop tension can put undue stress on your fabric and thread, leading to fraying.
Too Tight is Not Always Right
An overly tight hoop can stretch your fabric out of shape. This distortion makes it harder for the needle to pass through cleanly. It can also create a very dense surface that snags your thread. We’ve seen many beginners make this mistake, thinking tighter is always better.
When the hoop is too tight, it stresses the fabric fibers. This stress can transfer to the thread as it goes through. It’s like trying to pull a string through a very tight rubber band; it just stretches and breaks. We found that fabric should feel firm, like a drum, but not so tight that it deforms permanently.
Loose Hoops Cause Snagging
On the other hand, a hoop that’s too loose allows the fabric to shift and pucker as you stitch. This movement creates opportunities for your thread to catch on fabric edges or loose fibers. It can also lead to uneven stitches, which indirectly contributes to thread stress.
When the fabric is loose, the needle might not enter the fabric cleanly. It can catch on the weave or edges. This snagging pulls and frays the thread. We found that the ideal hoop tension keeps the fabric smooth and stable.
How to Get Hoop Tension Right
The general advice is that your fabric should be taut enough not to wrinkle when you lightly touch it with your finger. It should feel smooth and firm. If you can easily push the fabric down into the hoop, it’s likely too loose. If you’re struggling to get the fabric into the hoop at all, it might be too tight.
Many embroiderers use a small piece of scrap fabric or interfacing to help their main fabric grip better in the hoop. This can provide extra stability without overtightening. We found that a little experimentation often helps find the perfect balance.
Thread Quality and Handling
Not all threads are created equal, and how you handle them also impacts their tendency to fray.
Understanding Your Thread Types
Different thread materials have different properties. Cotton floss is generally sturdy but can split if not handled carefully. Silk threads are smooth but can be delicate. Metallic threads are beautiful but notoriously prone to fraying due to their construction (often a metallic film wrapped around a core thread). We found that understanding your thread’s nature is vital.
For example, metallic threads often require a larger needle to prevent snagging the delicate metallic wrap. Some specialty threads might also benefit from a thread lubricant to help them glide more smoothly. We found that using the right thread for the right project reduces frustration.
How You’re Winding and Using the Thread
The way you handle your thread before and during stitching matters. Pulling thread too quickly from a skein can create twists and tangles that lead to fraying later. Overworking a strand of thread (pulling it back and forth through the fabric many times) also weakens its fibers.
When dividing embroidery floss, do so gently. Don’t yank the strands apart. Instead, gently tease them apart. When stitching, try to pull the needle through with a smooth, steady motion. Avoid excessive tension on the thread as you pull it through.
We found that “thread drag” is a common issue. This is when the thread catches on the back of the fabric or even the hoop itself. Keeping the back of your work tidy can help reduce this. Shorten your thread lengths too; longer threads have more opportunity to tangle and fray.
Common Stitching Techniques That Cause Fraying
Sometimes, specific stitching actions can stress your thread. Being mindful of these can save you a lot of trouble.
Backstitching and Tension
When you perform a backstitch, the needle goes back into a previously stitched hole. If the fabric is too tight or the needle isn’t sharp enough, this action can snag the thread. It can also cause the thread to rub against itself within the fabric hole.
We found that for backstitching, ensuring your needle is sharp and the fabric is properly hooped is essential. A slightly larger needle might also help here.
Over-Tensing Your Stitches
Pulling your thread too tightly with each stitch might seem like it creates a neat finish, but it can actually damage the thread and distort your fabric. It puts a lot of strain on the thread fibers. This constant tension weakens the thread over time.
We found that consistent, gentle tension is best. The stitch should lay flat without being pulled so tight that it indents the fabric excessively or puckers it. Many stitchers aim for a stitch that looks good on both the front and the back.
Preventative Checklist for Smoother Stitching
Here’s a quick rundown of what to check when you notice fraying:
- Ensure your needle is sharp and free of burrs.
- Choose the correct needle size for your thread and fabric.
- Make sure your hoop tension is firm but not overly tight.
- Handle your thread gently; don’t yank.
- Use shorter thread lengths to prevent tangles.
- Check for snags on the back of your fabric.
When to Change Your Thread or Needle
Don’t be afraid to swap out components if they aren’t working. Sometimes, the best solution is a fresh start. If a particular thread seems to fray no matter what you do, it might be defective or just not suited for your project. Similarly, if you’ve tried everything and your needle still seems to be the issue, replace it.
We found that experienced embroiderers often have a stash of needles and threads. They know that changing a dull needle or a problematic thread can completely transform their stitching experience. It’s a small change that makes a big difference.
Conclusion
Your embroidery thread fraying is a common stitcher’s frustration, but now you know the usual causes. Most issues stem from friction, often related to your needle’s condition or size, and hoop tension that’s either too tight or too loose. Remembering to handle your thread gently and choosing the right materials for your project can prevent many problems. Take a moment to check your needle, adjust your hoop, and handle your thread with care. You’ll find your stitching becomes much smoother and more enjoyable. Try implementing these simple checks on your next project!
Frequently Asked Questions
How often should I change my embroidery needle?
It’s a good idea to change your embroidery needle every 4-8 hours of continuous stitching. A dull or damaged needle is a primary cause of thread fraying. Even slight dullness can snag your thread fibers. Replacing your needle regularly is a small step that makes a big difference in your stitching.
Can the type of embroidery thread itself cause fraying?
Yes, the type of thread plays a role. Metallic threads, for instance, are known to fray more easily due to their construction. Different materials like silk or cotton have their own handling needs. Understanding your thread’s characteristics can help you prevent issues before they start.
What’s the best way to hoop fabric to avoid thread fraying?
Your fabric should be taut but not stretched out of shape. It should feel firm, like a drum, but still smooth. If your fabric shifts or puckers easily, the hoop is too loose. If it feels overly tight and distorts the fabric, it’s too tight. Aim for a balance that keeps the fabric stable.
Does using shorter thread lengths really help prevent fraying?
Absolutely. Longer thread lengths have more opportunity to twist, tangle, and get snagged. This increases friction and stress on the thread fibers. Shorter threads are easier to control and have less chance of developing problems during stitching. We found this simple change is very effective.
What should I do if my thread keeps fraying even with a new needle and proper tension?
If you’ve checked your needle, hoop tension, and handling, and the fraying persists, the issue might be with the thread itself. Some threads might be defective or simply not suited for your fabric or stitch type. Try a different brand or type of thread to see if that resolves the problem.