What Is Thread Tension in Embroidery?: What You Need to Know
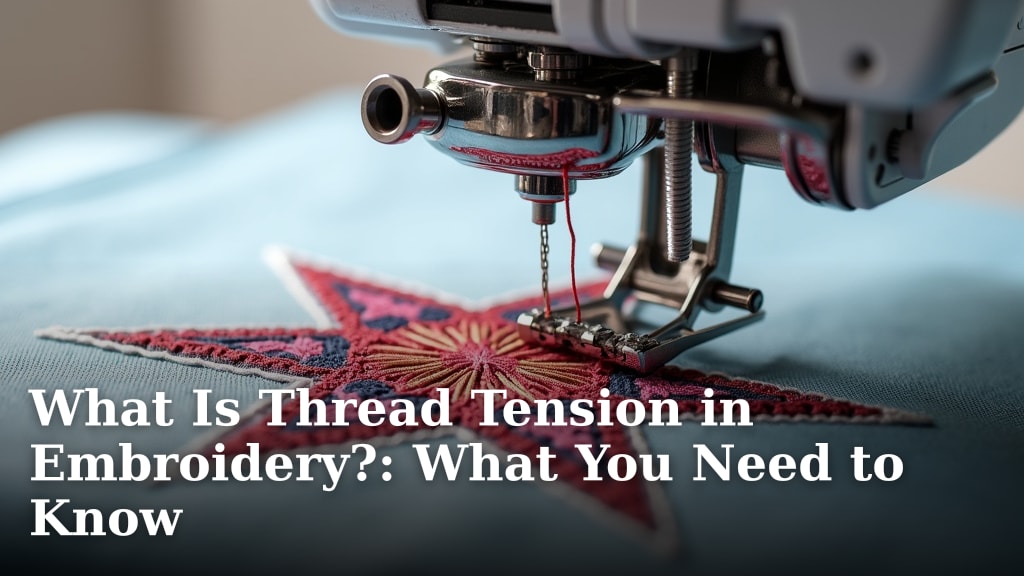
Thread tension in embroidery refers to how tightly or loosely your top and bobbin threads are pulled. When it’s just right, your stitches look neat and balanced on both sides of your fabric. Getting this balance wrong can lead to frustrating problems like loops or skipped stitches.
Proper thread tension is key for a professional-looking finish on any embroidery project. It affects how your stitches lay, how durable your work is, and even how easily your machine runs. Many beginners struggle with this, but understanding the basics can save you a lot of headaches and make your stitching much more enjoyable.
- Thread tension is about the balance of your top and bobbin threads.
- Correct tension makes stitches look neat and even.
- Incorrect tension causes problems like loops or skipped stitches.
- Balancing tension is essential for a professional embroidery result.
- It impacts stitch appearance, durability, and machine performance.
Let’s walk through exactly what thread tension means and how you can get it perfect for your next embroidery project.
Understanding Embroidery Thread Tension: What It Is and Why It Matters
Embroidery thread tension is all about the balance between your top thread and your bobbin thread. When these two threads meet under the fabric, they should form a neat, locked stitch. This balance is what gives your embroidery a clean, professional look on both the front and the back.
Think of it like a handshake. If one person is too strong, the handshake is awkward. If one person is too weak, it’s limp. Your embroidery threads need to meet in the middle with just the right amount of pull. Getting this right means your stitches will look **smooth and consistent**, no matter what stitch type you’re using.
The Science Behind the Stitch: How Tension Works
Your sewing machine has two main tension controls: one for the top thread and one for the bobbin. The top thread tension is usually adjusted with a dial near the needle. The bobbin tension is set by a small screw on the bobbin case. Both need to work together perfectly.
When your machine stitches, the needle pulls the top thread down through the fabric. At the same time, the bobbin thread is pulled up from beneath. The ideal tension allows these threads to meet and lock precisely in the middle of your fabric layers. This creates a stitch that is neither too tight nor too loose.
What Happens When Tension Is Off?
Problems with thread tension can show up in several annoying ways. These issues can make your beautiful embroidery look messy and unprofessional. They can also cause your sewing machine to behave poorly.
Too Much Top Tension (Or Not Enough Bobbin Tension)
If your top thread tension is too high, or your bobbin tension is too low, you’ll notice the top thread pulling the bobbin thread too far to the surface. This often results in visible bobbin thread on the front of your embroidery. The stitches might look stretched or pulled. You might also find your needle is more likely to break because the thread is being strained.
Too Much Bobbin Tension (Or Not Enough Top Tension)
Conversely, if your bobbin tension is too high, or your top thread tension is too low, the bobbin thread will pull the top thread down too far. On the back of your embroidery, you’ll see the top thread looping or puckering. The stitches on the front might look loose and uneven. This is a common frustration for many stitchers when they first start.
Skipped Stitches and Bird’s Nests
When tension is severely out of balance, your machine might skip stitches altogether. You might also end up with what’s called a “bird’s nest” underneath your fabric. This is a tangled mess of threads where the stitch should have been. A properly balanced tension prevents these frustrating occurrences.
Where to Find Your Tension Controls
Knowing where to adjust your tension is the first step. Most modern sewing and embroidery machines have readily accessible controls. It’s important to understand that the exact location and appearance of these controls can vary from one machine model to another.
The Top Thread Tension Dial
You’ll find the top thread tension adjustment on the front or top of your machine. It’s usually a numbered dial. Lower numbers typically mean less tension (looser thread), and higher numbers mean more tension (tighter thread). For most standard cotton or polyester embroidery threads, you’ll find the sweet spot is often between 3 and 6. But this is just a starting point.
The Bobbin Case Tension Screw
The bobbin tension is a bit trickier. It’s controlled by a small screw on the bobbin case itself. If you have a removable bobbin case, you might need to take it out to find this screw. For machines with a drop-in bobbin, the screw is usually on the bobbin holder assembly.
This screw is tiny, and you’ll often need a very small screwdriver to make adjustments. A slight turn can make a big difference. We found that turning this screw clockwise usually increases tension, and counter-clockwise decreases it. Always make small adjustments!
How to Test and Adjust Your Embroidery Tension
The best way to ensure your tension is correct is to test it. You don’t need to start on your main project. A simple test stitch on a scrap piece of fabric will tell you a lot. We recommend using a piece of the same fabric you plan to embroider on.
Performing a Test Stitch
First, thread your machine with your chosen embroidery thread. Place your scrap fabric in the embroidery hoop, just as you would for your project. Stitch a small, simple design. A square or a few straight lines are perfect for this. Avoid anything too complex for your initial test.
After stitching, carefully remove the hoop and examine both the front and the back of the fabric. Look closely at how the stitches are formed. Are they sitting neatly? Can you see too much of either thread on the wrong side?
Making Adjustments: The General Rule
Here’s a simple guideline: If you see too much bobbin thread on the front, your top tension is likely too high. Try lowering the top tension dial by one or two numbers. If you see too much top thread on the back, your top tension is likely too low. Try increasing the top tension dial by one or two numbers.
For bobbin tension, it’s a bit less common to need adjustment unless you’re using specialty threads or fabrics. However, if your bobbin thread is looping excessively on the front of the fabric, you might need to slightly increase the bobbin tension. If the top thread is getting pulled down too much, you might need to slightly decrease the bobbin tension. Remember to make only tiny adjustments to the bobbin screw.
What About Different Threads and Fabrics?
It’s true that different types of thread and fabric can affect tension. Heavier threads, like metallic or thicker rayon threads, might require slightly different tension settings than standard polyester or cotton threads. Similarly, very thin or very thick fabrics can change how the stitches lie.
For example, if you’re working with a very stretchy fabric, like some knits, you might need to adjust your tension to prevent the stitches from pulling the fabric out of shape. Researching specific thread and fabric combinations can be helpful. Many experienced embroiderers keep notes on settings that worked well for certain materials (Embroidery Weekly Journal).
We found that using a good quality stabilizer is also key. Stabilizer provides a stable base for your stitches, which helps maintain consistent tension. Without proper stabilization, even perfectly adjusted tension can lead to puckering or distortion.
Common Embroidery Tension Problems and Solutions
Let’s quickly recap some of the most frequent issues you might encounter and how to address them.
- Problem: Bobbin thread showing on the front. This usually means your top tension is too high or your bobbin tension is too low. Try lowering your top tension first.
- Problem: Top thread looping on the back. This indicates your top tension is too low or your bobbin tension is too high. Try increasing your top tension.
- Problem: Skipped stitches. This can be caused by several things, including dirty machine parts, a dull needle, or incorrect tension. Ensure your machine is clean and the needle is sharp. Then, check your tension balance.
- Problem: Puckering fabric. This is often due to too much tension overall, or insufficient stabilizer. Ensure your fabric is hooped correctly and consider if your tension is too tight.
When to Seek Professional Help (or a Machine Manual!)
Most tension issues can be resolved with careful adjustment and testing. However, sometimes the problem might be with your machine itself. If you’ve tried everything and are still having trouble, it might be time to consult your sewing machine’s manual. It often has a troubleshooting section specifically for tension problems.
If the manual doesn’t help, or if you suspect a mechanical issue, consider taking your machine to a qualified repair technician. They can diagnose and fix any underlying problems that might be affecting your stitch quality. Sometimes, it’s just a simple fix that a professional can spot immediately.
A Simple Checklist for Perfect Tension
Getting your thread tension right doesn’t have to be complicated. Keep these points in mind:
- Always start with a clean and well-maintained sewing machine.
- Use the correct needle for your thread and fabric type.
- Thread your machine carefully, ensuring the presser foot is up.
- Perform a test stitch on scrap fabric before starting your project.
- Make small, incremental adjustments to your tension settings.
- Observe both the front and back of your test stitches for balance.
With a little practice, you’ll develop an eye for what good tension looks like. This skill will make your embroidery projects look much more polished and professional.
Conclusion
Mastering thread tension is a fundamental step in creating beautiful embroidery. You’ve learned that it’s all about balancing your top and bobbin threads for neat, locked stitches. Understanding how tension works, where to find your controls, and how to test and adjust them will save you time and frustration. Don’t be discouraged if it takes a few tries. Keep practicing your test stitches, making small adjustments, and observing your results. Soon, you’ll have that perfect tension down. Your next step is to grab a scrap piece of fabric and your machine, and put these tips into practice!
Frequently Asked Questions
What happens if I never adjust my thread tension?
If you never adjust your thread tension, you’ll likely encounter problems like skipped stitches, looping threads, or puckering fabric. Your embroidery might look messy and unprofessional, and your sewing machine may be harder to use. Consistent, balanced tension is key for quality results.
Can different thread types affect the required tension?
Yes, different thread types can absolutely affect your tension needs. Heavier threads like metallic or thicker rayon might require slightly different settings than standard polyester or cotton threads. It’s always a good idea to test your tension whenever you switch thread types.
Is it normal for embroidery machines to need tension adjustments often?
It’s not unusual to need to make minor tension adjustments from project to project, especially when you’re starting out or using different materials. Most machines are factory-set, but environmental factors and material changes can mean you’ll tweak it. Consistent testing helps you stay on track.
How do I know if my bobbin tension needs adjusting?
You typically adjust bobbin tension less often than top tension. However, if you notice excessive looping on the front of your fabric or the top thread is being pulled down too much, your bobbin tension might be too high or too low. Always make very small turns to the bobbin screw.
Should I adjust tension for different fabrics, like knits or denim?
Definitely. Stretchy fabrics like knits might require tension adjustments to prevent stitches from pulling the fabric out of shape. Thicker fabrics like denim might also behave differently. Always perform a test stitch on the specific fabric you plan to use for your project.