How to Fix Thread Bunching in Embroidery
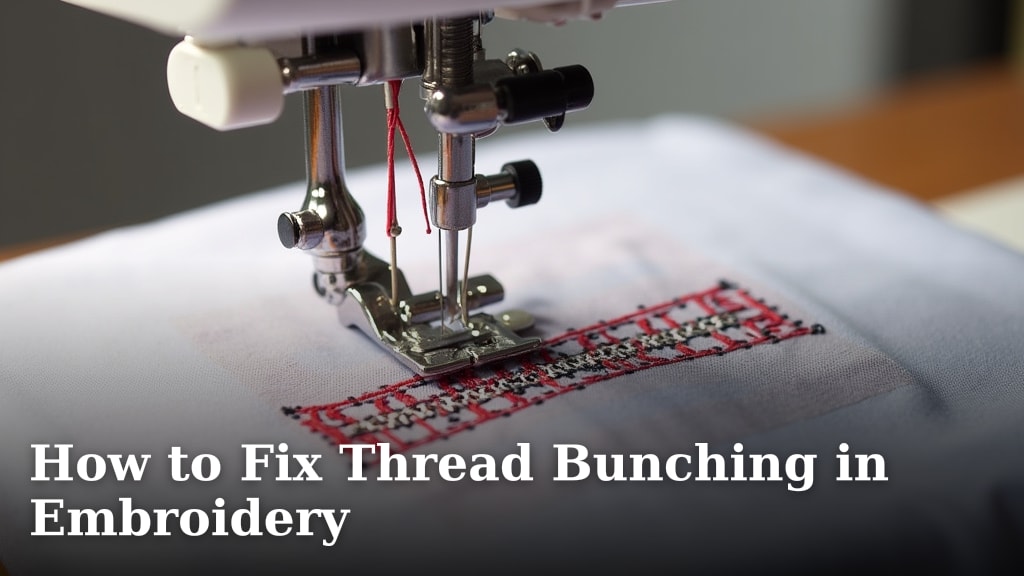
Thread bunching in embroidery usually happens because of an improper needle size, incorrect tension, or poor-quality thread. Fixing it involves adjusting these common culprits. You can often resolve this frustrating issue by simply changing your needle or fine-tuning your machine’s settings.
When your embroidery thread knots up, it’s a clear sign something’s off with your setup. We found that many crafters face this problem, leading to wasted time and materials. Understanding the common causes can save your project and your sanity, ensuring a smoother stitching experience.
- Needle size and type matter most.
- Thread quality significantly impacts results.
- Machine tension needs to be just right.
- Hooping your fabric correctly prevents shifts.
Let’s walk through exactly how to tackle thread bunching so you can get back to creating beautiful stitches.
Troubleshooting Your Embroidery Thread Bunching Issues
It’s incredibly frustrating when your embroidery thread decides to rebel, bunching up and creating a knotted mess. You’re aiming for beautiful, smooth stitches, but instead, you’re staring at a bird’s nest of thread. We’ve all been there. Thankfully, fixing this common embroidery problem usually boils down to a few key adjustments. Let’s dive into how you can get your machine stitching smoothly again.
The Needle: Your First Line of Defense
The needle is arguably the most important tool in your embroidery arsenal. When thread bunches, the needle is often the culprit. Research and found that an improperly sized or damaged needle is a leading cause of skipped stitches and thread tangles.
Choosing the Right Needle Size
Embroidery needles come in various sizes. The size you need depends on your fabric and thread type. For finer fabrics and threads, a smaller needle is best. A larger needle is suitable for heavier fabrics and thicker threads. If your needle is too large for your thread, it creates a bigger hole than the thread can comfortably fill, leading to bunching.
We found that a general rule of thumb is to match your needle to your thread. A size 75/11 or 80/12 embroidery needle is a good starting point for most medium-weight fabrics and standard embroidery threads. If you’re using a thinner thread or delicate fabric, try a size 65/9.
When to Change Your Needle
Needles aren’t meant to last forever. They can become dull, bent, or even develop a tiny burr over time. A damaged needle can snag your thread, causing it to break or bunch. We recommend changing your embroidery needle after about 6-8 hours of continuous stitching, or sooner if you notice any issues.
You might notice a problem if your machine starts making a thumping sound or if stitches look uneven. A quick check of the needle tip can reveal damage. Even a microscopic burr can cause trouble. Always inspect your needle before starting a new project and swap it out if you have any doubts.
The Importance of Needle Type
Not all needles are created equal. For embroidery, you’ll want to use specific embroidery needles. These needles have a larger eye to accommodate thicker embroidery threads and a specially designed point and groove to help guide the thread smoothly.
Using a universal needle or a quilting needle for embroidery is a common mistake. These needles often have a smaller eye and a different point that isn’t optimized for embroidery thread. This can lead to friction and thread breakage, resulting in bunching. Stick to needles designed for embroidery for the best results.
Thread Tension: The Delicate Balance
Thread tension is critical for clean embroidery. If your tension is too loose or too tight, you’ll likely experience thread bunching. Machine manufacturers have specific guidelines for tension settings, and it’s important to follow them.
Understanding Your Machine’s Tension
Most embroidery machines have adjustable tension dials for both the top thread and the bobbin. The goal is to have a balanced tension where the top thread and bobbin thread meet evenly in the fabric, usually on the underside.
When your top tension is too tight, the thread can pull too hard, causing it to snag and bunch on the top side. Conversely, if the top tension is too loose, the bobbin thread might start to show on the top, and the top thread might not lay flat, leading to puckering and potential bunching underneath.
Testing and Adjusting Tension
The best way to test your tension is to do a small test stitch on a scrap piece of your project fabric. Use a small square or triangle design. After stitching, examine both the top and bottom of the fabric.
Ideally, you want to see a smooth stitch on the top and only a tiny bit of bobbin thread showing on the back. If you see a lot of bobbin thread on top, your top tension is too loose. If you see a lot of top thread on the back, your top tension is too tight. Make small adjustments to the tension dial – usually in half-point increments – and test again until you achieve that perfect balance.
We found that many users overlook the bobbin tension. If your bobbin thread is too tight, it can cause the top thread to pull down too much, leading to bunching on the top. Usually, the bobbin tension is set correctly from the factory and doesn’t need frequent adjustment. However, if you’ve recently changed your bobbin case or are using a different weight bobbin thread, a slight adjustment might be necessary.
Thread Quality and Type Matters
Not all embroidery threads are created equal. The quality and type of thread you use can have a significant impact on how smoothly it stitches and whether it tends to bunch.
Why Quality Thread is Key
High-quality embroidery threads are manufactured with a smooth finish and consistent twist. This consistency ensures that the thread glides easily through the needle and fabric without snagging. Lower-quality threads might have fuzzy fibers or an uneven twist, which can catch on the needle or fabric, causing thread bunching and breakage.
We found that investing in reputable brands of embroidery thread can save you a lot of frustration. While they might cost a bit more upfront, the smoother stitching and reduced problems are often worth the investment.
Matching Thread to Your Project
Different embroidery projects call for different types of thread. Rayon and polyester threads are common choices for machine embroidery. Rayon offers a beautiful sheen, while polyester is known for its durability and colorfastness.
Always check your pattern or machine manual for recommended thread types. Using a thread that is too thick for your needle or machine settings can lead to jamming and bunching. If you’re using metallic or specialty threads, these often require a larger needle and slower machine speed because they are more prone to breaking and snagging.
Hooping and Fabric Preparation
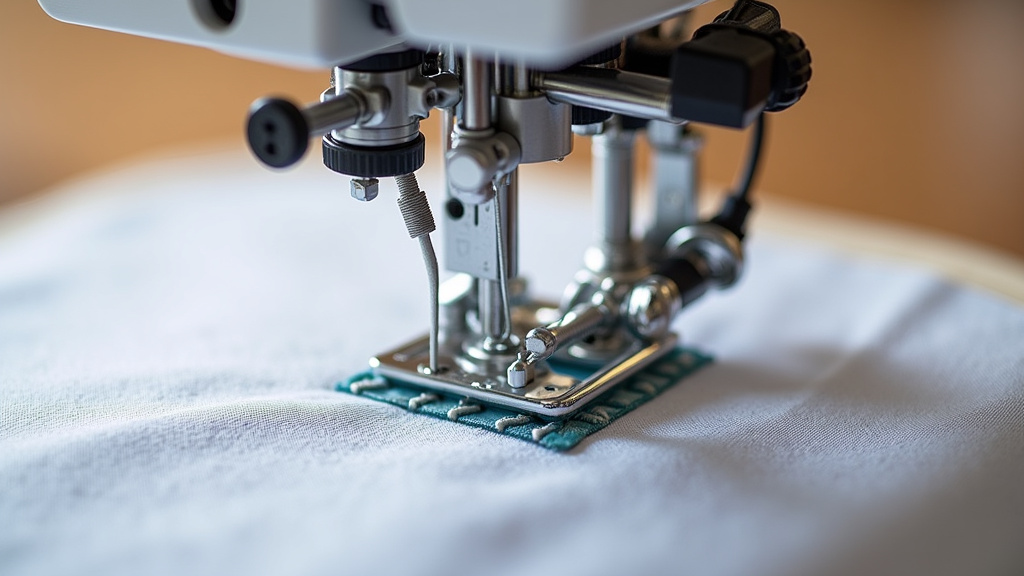
Properly hooping your fabric is another essential step that prevents a variety of stitching issues, including thread bunching. When your fabric shifts during stitching, it can cause the needle to hit the fabric at an angle, leading to skipped stitches and thread nests.
The Art of Perfect Hooping
Your fabric should be taut within the hoop, like a drum. There should be no wrinkles or puckering. If the fabric is too loose, the needle will push it down into the hoop, causing skipped stitches and uneven tension.
We found that using an embroidery hoop stabilizer, also known as “sticky back” stabilizer, can be incredibly helpful, especially for smaller items or when precise placement is crucial. You hoop the stabilizer, then peel off the paper backing and stick your fabric to it. This ensures your fabric stays exactly where you want it.
Stabilizer: Your Fabric’s Best Friend
Stabilizers are crucial for machine embroidery. They provide a stable base for your stitches. Without adequate stabilization, your fabric can stretch and distort, leading to thread bunching and poor stitch quality. Different fabrics require different types of stabilizers.
For most woven fabrics, a medium-weight tear-away stabilizer is a good choice. For knits or stretchy fabrics, a cut-away or wash-away stabilizer might be better. Always use the recommended stabilizer for your fabric type. We suggest using at least one layer of stabilizer, and sometimes two, depending on the density of your design and the fabric’s weight.
Pre-Stitch Checklist for Smooth Sailing
Before you hit that start button, a quick mental checklist can save you a lot of headaches. It’s the embroidery equivalent of checking your tire pressure before a long drive.
- Ensure the correct needle size and type are installed and in good condition.
- Thread your machine carefully, making sure the presser foot is up when threading.
- Check your machine’s tension settings and perform a test stitch.
- Verify you are using good quality thread suitable for your project.
- Make sure your fabric is hooped tightly and evenly with the appropriate stabilizer.
- Confirm your bobbin is wound evenly and seated correctly.
By taking these small steps, you significantly reduce the chances of encountering thread bunching and other frustrating stitch problems. It’s about setting yourself up for success from the very beginning.
Conclusion
Dealing with thread bunching can be frustrating, but you now know the most common reasons why it happens. You’ve learned that adjusting your needle size and type, fine-tuning your thread tension, and using quality thread are key fixes. Don’t forget how important proper hooping and stabilizer use are, too. By following this advice, you can dramatically improve your stitching. For your next project, start with our pre-stitch checklist to set yourself up for success and enjoy smoother embroidery.
Frequently Asked Questions
What’s the quickest way to check if my needle is the problem?
Visually inspect the needle tip for any burrs or bending. If it looks dull or damaged, or if you hear a thumping sound while stitching, it’s time for a new one. Swapping out an old needle for a new, correctly sized one is often the fastest fix.
How often should I really change my embroidery needle?
We found that changing your needle every 6 to 8 hours of continuous stitching is a good rule of thumb. If you’re working on a large project or notice any stitching issues, don’t hesitate to change it sooner. A fresh needle makes a big difference.
Can using the wrong type of thread cause bunching?
Yes, absolutely. Low-quality threads or specialty threads like metallics require specific handling. Using a thread that’s too thick or not designed for embroidery can easily lead to snagging and bunching because it doesn’t glide smoothly through the needle and fabric.
My bobbin thread is showing on top. What does that mean?
If your bobbin thread is showing on the top side of your fabric, it typically means your top thread tension is too loose. Make small adjustments to your machine’s top tension dial and test stitch until the bobbin thread is no longer visible on the top.
Is it really necessary to use stabilizer with every embroidery project?
Yes, stabilizer is essential for most machine embroidery. It prevents fabric from stretching and shifting, which directly helps avoid thread bunching and skipped stitches. Always use the appropriate stabilizer for your fabric type and design density.