Why Does Embroidery Thread Keep Breaking?
Embroidery thread keeps breaking because of a few common issues. Often, the tension is too tight, the needle is dull or the wrong size, or the thread quality is poor. Your machine might also be un-hopped, or you could be using the wrong type of thread for your fabric.
These problems can lead to frustrating snags and breaks, interrupting your creative flow. We’ve found that understanding the interplay between your embroidery machine settings, the needle’s condition, and the thread itself is key to smooth stitching. It’s a delicate balance to get right.
- Thread breaks often due to tight tension.
- Dull or incorrect needles cause frequent snapping.
- Poor quality thread is a common culprit.
- Machine setup and thread-fabric pairing matter.
Let’s walk through exactly why your embroidery thread might be snapping and how to fix it for good.
Troubleshooting Those Pesky Embroidery Thread Breaks
It’s a common frustration: you’re right in the middle of a beautiful embroidery project, and suddenly, your thread snaps. It’s like your machine is playing a little prank on you! We’ve all been there, staring at a jumbled mess of thread, wondering what went wrong. Fortunately, most thread breaks are caused by a few predictable issues. Let’s break down the common culprits and how you can keep your stitching smooth and uninterrupted.
Is Your Thread Tension Out of Whack?
One of the most frequent reasons your embroidery thread snaps is that the tension is too tight. Think of your embroidery machine as having a delicate conversation between the upper thread and the bobbin thread. If one is pulling too hard, the other can’t keep up, and something has to give. Usually, that’s the thread.
The Delicate Dance of Tension
Embroidery machines have tension settings for both the top thread and the bobbin. While the bobbin tension is often factory-set, the top thread tension is what you’ll adjust most. If the top thread tension is too high, it pulls the thread too tightly through the fabric and needle eye. This can cause friction and stress, leading to breakage.
What Happens When Tension is Too Tight
When your top tension is cranked up, you might notice your stitches looking puckered on the top. The bobbin thread might also start to show through on the fabric’s surface. This is a clear sign that the upper thread is being overworked. We found that excessive tension is responsible for a surprising number of breaks reported by stitchers.
Finding the Sweet Spot for Tension
So, how do you find that perfect balance? It often involves a bit of trial and error. Start with the recommended tension for your machine and thread type. If you’re experiencing breaks, try decreasing the top thread tension by small increments. You want to see a neat stitch where the top and bobbin threads meet evenly between the layers of fabric. Many embroidery manuals offer guidance on checking and adjusting tension.
When the Bobbin Thread Causes Trouble
While less common, a bobbin wound too tightly or with uneven tension can also cause thread breaks. If the bobbin thread is snagging or pulling inconsistently, it can put stress on the upper thread. Ensure your bobbin is wound smoothly and evenly. Some sewers find using a specific bobbin winder attachment helps achieve this consistency.
The Needle: Your Thread’s Best Friend or Worst Enemy?
Your embroidery needle is a critical piece of equipment. It’s the tool that pierces the fabric and guides the thread. If your needle isn’t up to the task, your thread will suffer.
A Dull Needle is a Break Waiting to Happen
Needles, like any tool, wear out. A dull needle can’t cleanly cut through the fabric. Instead, it pushes and tears at the fibers. This creates friction and can snag the thread as it passes through. We found that using a needle for too long is a common oversight that leads to frequent thread breaks.
- When to Change Your Needle: Experts often recommend changing your embroidery needle after about 8-10 hours of continuous stitching or at the start of a new project.
- Signs of a Dull Needle: Skipped stitches, thread fraying at the needle eye, or noticeable drag as the needle enters the fabric are all signs it’s time for a fresh one.
The Wrong Needle Size Can Cause Mayhem
Just like there are different types of threads, there are different types and sizes of needles. Using a needle that’s too fine for your thread or fabric can cause the thread to snap. Conversely, a needle that’s too large can create excessive holes, weakening the fabric and potentially snagging the thread.
Matching Needle to Thread and Fabric
Embroidery needles are specifically designed for machine embroidery. They have a sharper point and a larger eye than standard sewing needles. For most embroidery, a sharp embroidery needle is best. The size of the needle should correspond to the size of your thread. For example, a thicker embroidery thread (like 30-weight) will require a larger needle (like an 80/12 or 90/14) than a finer thread (like 60-weight silk or metallic thread), which might use a 70/10 or 75/11 needle.
Specialty Needles for Special Threads
Are you using metallic thread or rayon thread? These types of threads can be a bit more delicate or prone to snagging. Specialty needles, like those designed for metallic threads, have a larger, smoother eye to prevent the metallic coating from peeling or breaking. We’ve found that using the correct specialty needle makes a world of difference when working with these types of threads.
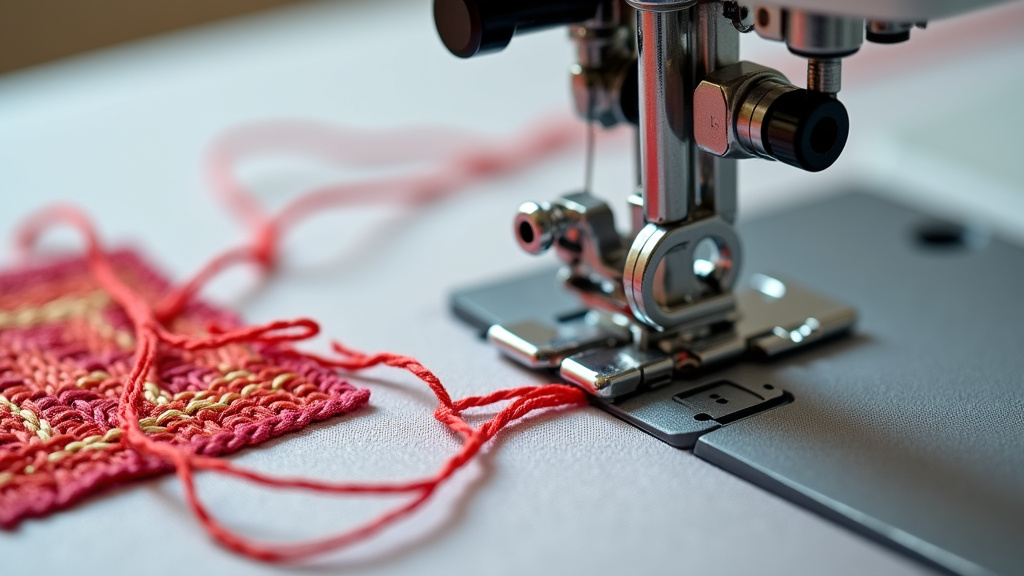
Is Your Thread Quality the Real Culprit?
Not all embroidery threads are created equal. The quality of the thread itself plays a massive role in how it performs in your machine.
The Cheap Thread Trap
We understand the temptation to save a few dollars, but using low-quality or old, brittle thread is a fast track to frustration. Cheap threads often have inconsistencies in thickness, weak spots, and a rougher finish. These imperfections can catch on the needle, the fabric, or within the machine’s tension discs, leading to breaks. Using low-quality or old thread can lead to frustration and breaks, so understanding thread types is important.
What to Look for in Quality Thread
Good quality embroidery thread is smooth, strong, and has a consistent diameter. It’s made from good materials, like high-quality polyester or rayon. When you run it between your fingers, it should feel smooth and not fray easily. Brands that are well-regarded in the embroidery community are generally a safe bet. Many experts suggest sticking to reputable brands for reliable results.
The Age of Your Thread Matters
Even good quality thread can degrade over time. Sunlight, heat, and age can make threads brittle and weak. If you have spools of thread that have been sitting in a dusty box for years, they might be past their prime. Test older threads on a scrap piece of fabric first. If they break easily, it’s time to replace them.
Thread Type and Fabric Compatibility
Using the right type of thread for your project is also important. For instance, using a very fine silk thread on a heavy denim fabric might not work well. The fabric’s texture and thickness can put extra strain on a delicate thread. Research your thread types and their intended uses.
Machine Setup and Maintenance: The Unsung Heroes
Sometimes, the problem isn’t the thread or the needle, but how your machine is set up and maintained.
Is Your Machine Threaded Correctly?
This might sound basic, but an incorrectly threaded machine is a common cause of thread breaks. Ensure you’re following your machine’s manual precisely. Pay close attention to threading the upper thread through all the guides, tension discs, and the needle eye in the correct order. Make sure the presser foot is up when threading the upper thread and down when sewing.
Hooping Issues Can Cause Snags
An improperly hooped piece of fabric can lead to problems. If your fabric is too loose, it can shift during stitching, causing the needle to hit an unexpected spot or the thread to snag. If you’ve over-tightened your hoop, you can distort the fabric and create stress points. Your fabric should be taut like a drum, but not stretched out of shape.
The Importance of Stabilizer
Stabilizers are the unsung heroes of embroidery. They provide a stable base for your stitches. Without the right stabilizer, the fabric can distort, and the stitches can pucker or break the thread. Using a stabilizer that’s appropriate for your fabric type and design density is key. We found that using an inadequate or incorrect stabilizer is often overlooked.
Is Your Machine Clean and Oiled?
Just like a car, an embroidery machine needs regular cleaning and oiling to run smoothly. Lint and dust can build up in the tension discs, the bobbin area, and the feed dogs. This buildup can cause friction and uneven thread movement, leading to breaks. Refer to your machine’s manual for the recommended cleaning and oiling schedule.
Let’s summarize the quick fixes:
- Check Thread Tension: Make sure it’s not too tight.
- Inspect Your Needle: Is it sharp, the right size, and the correct type?
- Use Quality Thread: Opt for reputable brands and check for age.
- Thread Your Machine Correctly: Follow the manual carefully.
- Ensure Proper Hooping: Fabric should be taut but not stretched.
- Clean Your Machine: Regular maintenance prevents many issues.
Conclusion
You’ve learned that embroidery thread breaking isn’t a mystery, but a solvable puzzle. We’ve seen how tension, needle condition, thread quality, and proper machine setup all play a part. By systematically checking these elements, you can significantly reduce frustrating breaks. Don’t let a snapping thread stop your creativity. Take a moment to adjust your tension, inspect your needle, or try a different thread. You’ve got the knowledge now to get back to smooth, enjoyable stitching.
Frequently Asked Questions
What’s the quickest way to fix a thread break on a small project?
For a quick fix on a small project, the first step is to re-thread your machine carefully, ensuring the presser foot is up. Then, gently pull out the snagged thread from the back of the fabric. Before restarting, test stitch on a scrap to check tension and needle condition. This prevents further breaks.
Can the type of fabric I’m using cause thread to break?
Yes, the fabric type can definitely contribute to thread breaks. Stiffer or rougher fabrics, like denim or canvas, can cause more friction. You might need a stronger needle or a more durable thread for these materials. Additionally, fabrics that stretch excessively can also put strain on the thread.
How often should I really be changing my embroidery needle?
It’s recommended to change your embroidery needle after about 8 to 10 hours of continuous stitching. If you notice skipped stitches, fraying thread, or a dull sound as the needle pierces the fabric, it’s time for a change sooner. Using a fresh needle ensures cleaner stitching and fewer breaks.
My thread always breaks when I use metallic thread. What am I doing wrong?
Metallic threads are delicate and prone to snagging. You likely need to use a specialty needle designed for metallic threads, which has a larger, smoother eye. Also, ensure your machine’s tension isn’t too tight, as this can crush the metallic coating. Slowing down your machine’s speed might also help.
Is it ever okay to use a regular sewing needle for embroidery?
While you might get away with it for very simple designs on lightweight fabric, it’s generally not recommended. Embroidery needles are designed with a larger eye to accommodate thicker embroidery threads and a sharper point for cleaner fabric penetration. Using a regular sewing needle can lead to frequent thread breaks and skipped stitches.